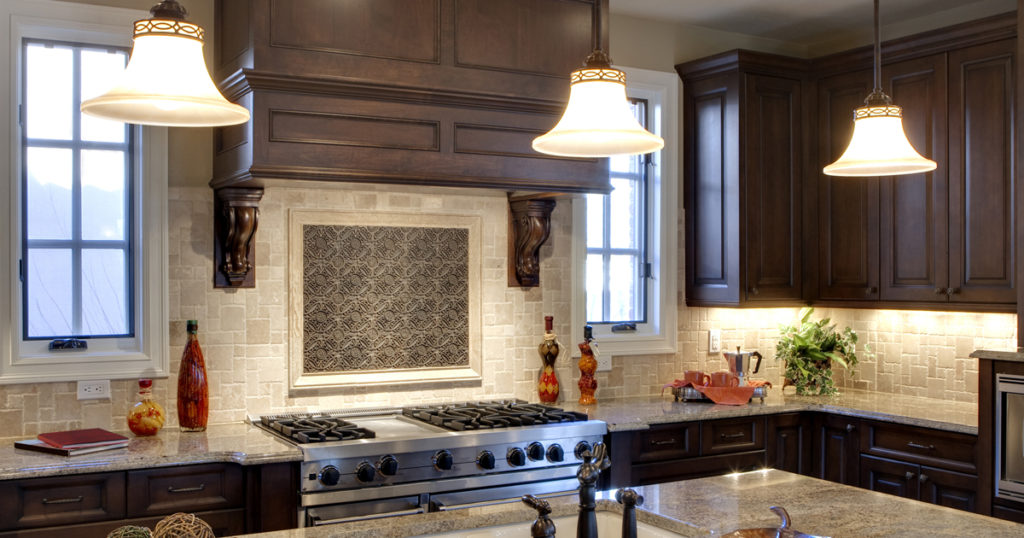
If you’ve bought or sold a house, or even if you’re just beginning that adventure for the first time, you’ve likely heard about the importance of a kitchen. For many families, a kitchen is much more than where you assemble the meals that sustain your family (or hang takeout menus with magnets on your refrigerator). It’s where you check homework while unpacking groceries, where everyone tends to gather, where the smells of holiday meals create lasting memories.
We all know a great kitchen can help a home sell and that a less impressive one may very well be a deal-breaker when we’re shopping for a house of our own. But we also tend to assume that doing something to make a good kitchen great or a subpar kitchen better will cost us an arm and a leg. We’re here to say that does not have to be the case. Under-cabinet lighting in a kitchen is a perfect example of an inexpensive and DIY-friendly home improvement project that will be useful and aesthetically pleasing. Here’s how you can take on this project yourself!
Plan ahead. If you’re a big fan of wasted time and multiple trips to your local big-box home repair store, you can skip this and move on to the next step. But the truth is, you’ll save time, money, and so much frustration if you think this project through before you begin.
Consider things like how much extra light you need/want, where you plan to place the lighting, what kind of light pattern you’re interested in (if you’re fancy like that), and—this one’s especially important if you’ll be purchasing lighting that requires you to plug it in—where your nearest kitchen electrical outlets are located.
Pick your lighting. If your idea of buying lighting is a quick run to buy basic 60-watt light bulbs at your local dollar store, consider yourself warned. You may very well spend more time staring at a wall of lighting options and feeling overwhelmed than you’ll spend putting in the lighting once you’ve brought it home.
You’ll see words like “energy efficient,” “color temperature,” and “light output,” and with those descriptors, a whole range of possible items to purchase. If you love choice and enjoy deep diving into research on the intricacies of such decisions, great. If you don’t and, like many of us, quickly become overwhelmed by these kinds of decisions, LED lighting in warm white or bright white is a safe choice for kitchen lighting.
More important to think about than colors or hues, however, is how you want your lights to work. Do you want battery-powered lights for occasional use? Wi-fi operated ones? Plug-in lights or hardwired ones? It’s worth considering whether you’re planning this project for a forever home or a “for now” home. If you’ve got another PCS in your future and are likely to be packing up again sometime soon, perhaps the hardwired ones are more time and effort than it makes sense to invest. Plus, with some of the options now available, you might even be able to simply unplug/remove the under-cabinet lighting you install and bring it with you to your next location!
Install your lighting. The step-by-step part? That’s going to depend upon what choices you’ve made. There are peel and stick under-cabinet lights, glue dot under-cabinet lights, Velcro strip under-cabinet lights, and plug-in ones, too. For the battery-operated options as well as those not requiring electricity, you’ll need to simply follow the manufacturer’s instructions.
If you’ve chosen plug-in lighting, it’s just a matter of attaching the light fixture to the bottom of the cabinet(s) you’re illuminating and then plugging the unit into a nearby outlet. If you want those cords to be invisible, or at least not dragging onto your counter space, you can utilize a cabinet outlet—like the one where your built-in microwave is probably plugged in. If you go that route, you’ll need to drill the smallest hole(s) you need in the side walls of the cabinet, by the bottom through which to feed your cords and then plug them in.
Once you’ve adhered, wired, or whatever method of installation you’ve selected for those under-cabinet lights, all that’s left to do is let the light shine on your lighter, brighter kitchen!


